Introduction:
The MK kit for the M2040DM printer is essential for maintaining its functionality and ensuring consistent, high-quality printing. Replacing the MK kit is a regular maintenance task required by most printers after prolonged use. While hiring a technician to handle this task is a common solution, many users wonder if they can take on the installation themselves.
This guide explores whether it’s feasible to install the MK kit for the M2040DM on your own. We will delve into the advantages and disadvantages of DIY installation, provide a detailed, step-by-step guide, and offer tips for a smooth and error-free process. By the end, you will know whether you can confidently undertake this task.
Understanding the MK Kit and Its Importance
The MK kit, also known as the Maintenance Kit, comprises various essential components that ensure your printer functions efficiently. Over time, these components wear out, causing print quality to degrade, paper jams to occur more frequently, and the printer’s overall performance to decline.
Regularly replacing the MK kit not only enhances print quality but also extends the lifespan of your printer. Neglecting this maintenance can lead to expensive repairs or the need to replace the printer entirely. For those using the M2040DM regularly, understanding the components and their role is critical.
What Does the MK Kit Include?
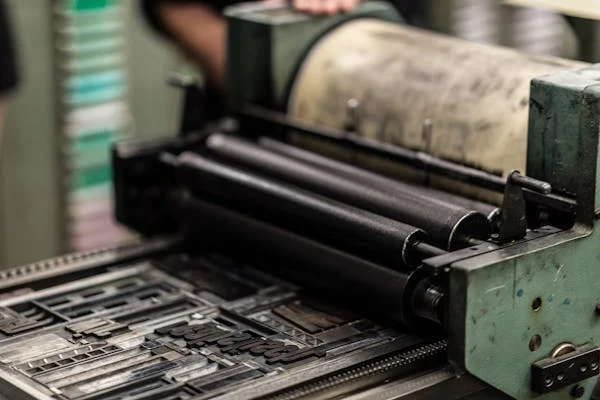
The MK kit for the M2040DM typically contains the following components:
- Fuser Unit: Ensures that the toner adheres properly to the paper, producing smudge-free prints.
- Transfer Roller: Transfers the toner from the cartridge to the paper during printing.
- Separation Pads: Prevent paper jams by ensuring only one sheet of paper feeds into the printer at a time.
- Pickup Rollers: Facilitate smooth feeding of paper through the printer.
Each of these components serves a unique function in maintaining the printer’s reliability and performance. Replacing them when necessary is crucial to avoid frequent disruptions in your printing tasks.
Can You Install the MK Kit for M2040DM Yourself?
The short answer is yes, you can install the MK kit for the M2040DM yourself. However, the task requires careful handling and attention to detail. If you are comfortable with basic technical tasks and willing to follow the instructions diligently, this is a feasible project. Let’s examine the pros and cons of a DIY installation.
Benefits of DIY Installation
Opting for a DIY installation can provide several advantages.
- Cost Savings: Hiring a professional to install the MK kit can be expensive. Doing it yourself eliminates labor costs, making it a budget-friendly option.
- Flexibility: You can perform the installation at your convenience rather than waiting for a technician’s availability.
- Increased Knowledge: Installing the MK kit yourself allows you to understand your printer better, enabling you to troubleshoot minor issues in the future.
Potential Challenges
While there are benefits, DIY installation comes with challenges that should not be overlooked.
- Risk of Errors: Improper installation can lead to printer damage or poor performance.
- Time-Consuming: If you are unfamiliar with printer components, the process may take longer than expected.
- Warranty Concerns: In some cases, DIY repairs might void the printer’s warranty. Check your warranty terms before proceeding.
By weighing the pros and cons, you can determine if a DIY installation aligns with your skills and confidence level.
Tools and Preparations Required
Before beginning the installation process, gather all the tools and materials you’ll need. Proper preparation minimizes the risk of errors and ensures a smooth process.
Tools Required
To install the MK kit for the M2040DM, you will need the following tools:
- Screwdriver Set: Both flathead and Phillips screwdrivers are required for opening and reassembling the printer.
- Anti-Static Gloves: Protect the printer’s sensitive components from static electricity damage.
- Container for Small Parts: Keep screws and small components organized during the process.
Preparations
- Review the Manual: Familiarize yourself with the M2040DM user guide and the MK kit installation instructions.
- Power Off the Printer: Turn off the printer and unplug it. Allow it to cool for at least 30 minutes, especially if recently used.
- Prepare Your Workspace: Choose a clean, dry area with sufficient lighting to perform the installation. Ensure the workspace is free of dust and clutter.
- Lay Out the Components: Organize the MK kit components on your workspace for easy access during installation.
Taking these preparatory steps will help you approach the installation process with confidence.
Step-by-Step Guide to Installing the MK Kit for M2040DM
Installing the MK kit involves a series of steps. Follow this guide carefully to ensure a successful installation.
Step 1: Removing Old Components
- Open the printer’s front cover to access the internal components.
- Identify the fuser unit, transfer roller, separation pads, and pickup rollers that need replacement.
- Use a screwdriver to carefully remove the screws securing the old components in place.
- Gently remove the old components without damaging the surrounding parts.
Step 2: Installing the New Components
- Position the new fuser unit from the MK kit in its designated slot and secure it with screws.
- Align the transfer roller with the grooves inside the printer and press until it clicks into place.
- Slide the separation pads into their slots, ensuring they are correctly aligned.
- Insert the pickup rollers, checking for smooth movement.
Step 3: Reassembling the Printer
- Double-check that all new components are securely installed.
- Reattach covers or panels removed during disassembly.
- Close the printer cover and reconnect it to the power source.
Step 4: Testing the Printer
- Turn on the printer and perform a test print.
- Look for error messages or abnormalities during the test print. If issues arise, review the installation steps to identify potential errors.
Tips for a Successful Installation
- Document the Process: Take photos during disassembly for reference during reassembly.
- Stay Organized: Use labeled containers to keep screws and parts from getting mixed up.
- Refer to Online Resources: Tutorials and videos can provide additional guidance if needed.
Troubleshooting Common Issues
Even with careful installation, issues may arise. Here are some common problems and solutions:
| Issue | Possible Cause | Solution |
|---|---|---|
| Printer not powering on | Components not securely placed | Recheck installation steps |
| Paper jams | Misaligned rollers or pads | Realign or reseat the components |
| Poor print quality | Incorrect fuser installation | Reinstall the fuser unit |
If troubleshooting doesn’t resolve the issue, consult the printer’s user manual or seek professional assistance.
Conclusion:
Installing the MK kit for the M2040DM printer yourself is a viable option for individuals with basic technical skills and a willingness to follow instructions. By undertaking this task, you can save money, gain a deeper understanding of your printer, and maintain its performance.
However, DIY installation is not without challenges. If you are unsure about the process or lack the necessary tools, seeking professional assistance may be a safer choice. Regular maintenance is crucial to keep your printer functioning efficiently.
With proper preparation, attention to detail, and this comprehensive guide, you can confidently take on the task of installing the MK kit for your M2040DM printer.